

PMSM Ceiling Fan Installation Guide for Beginners
This installation guide—brought to you by SUNNY INTERNATIONAL POWER LIMITED (SIPL)—is tailored for beginners seeking to install PMSM (Permanent Magnet Synchronous Motor) ceiling fans, renowned for energy efficiency and quiet operation. The article details the critical stages of installation: understanding SIPL fan components, gathering necessary tools, and taking safety precautions. It walks users through step-by-step instructions, from unboxing and site preparation to mounting brackets, motor/downrod assembly, precise electrical wiring, blade attachment, and controller setup. Common issues such as wobbling, power failures, and remote malfunctions are addressed with troubleshooting tips. Maintenance routines and safety practices are outlined for optimal longevity, while FAQs clarify compatibility, efficiency, and operation questions. The guide concludes with SIPL contact information and additional resources for further support. By following SIPL's checklist and instructions, beginners can confidently achieve a safe, efficient, and stylish ceiling fan installation in their homes.
Introduction to PMSM Ceiling Fans
PMSM (Permanent Magnet Synchronous Motor) ceiling fans represent a leap forward in fan technology, offering superior energy efficiency, reduced noise, and enhanced lifespan compared to traditional AC motor fans. SUNNY INTERNATIONAL POWER LIMITED (SIPL) is dedicated to empowering homeowners and installers with the knowledge to successfully install PMSM ceiling fans, ensuring you benefit from cutting-edge comfort and performance in your living spaces.

Understanding PMSM Ceiling Fan Components
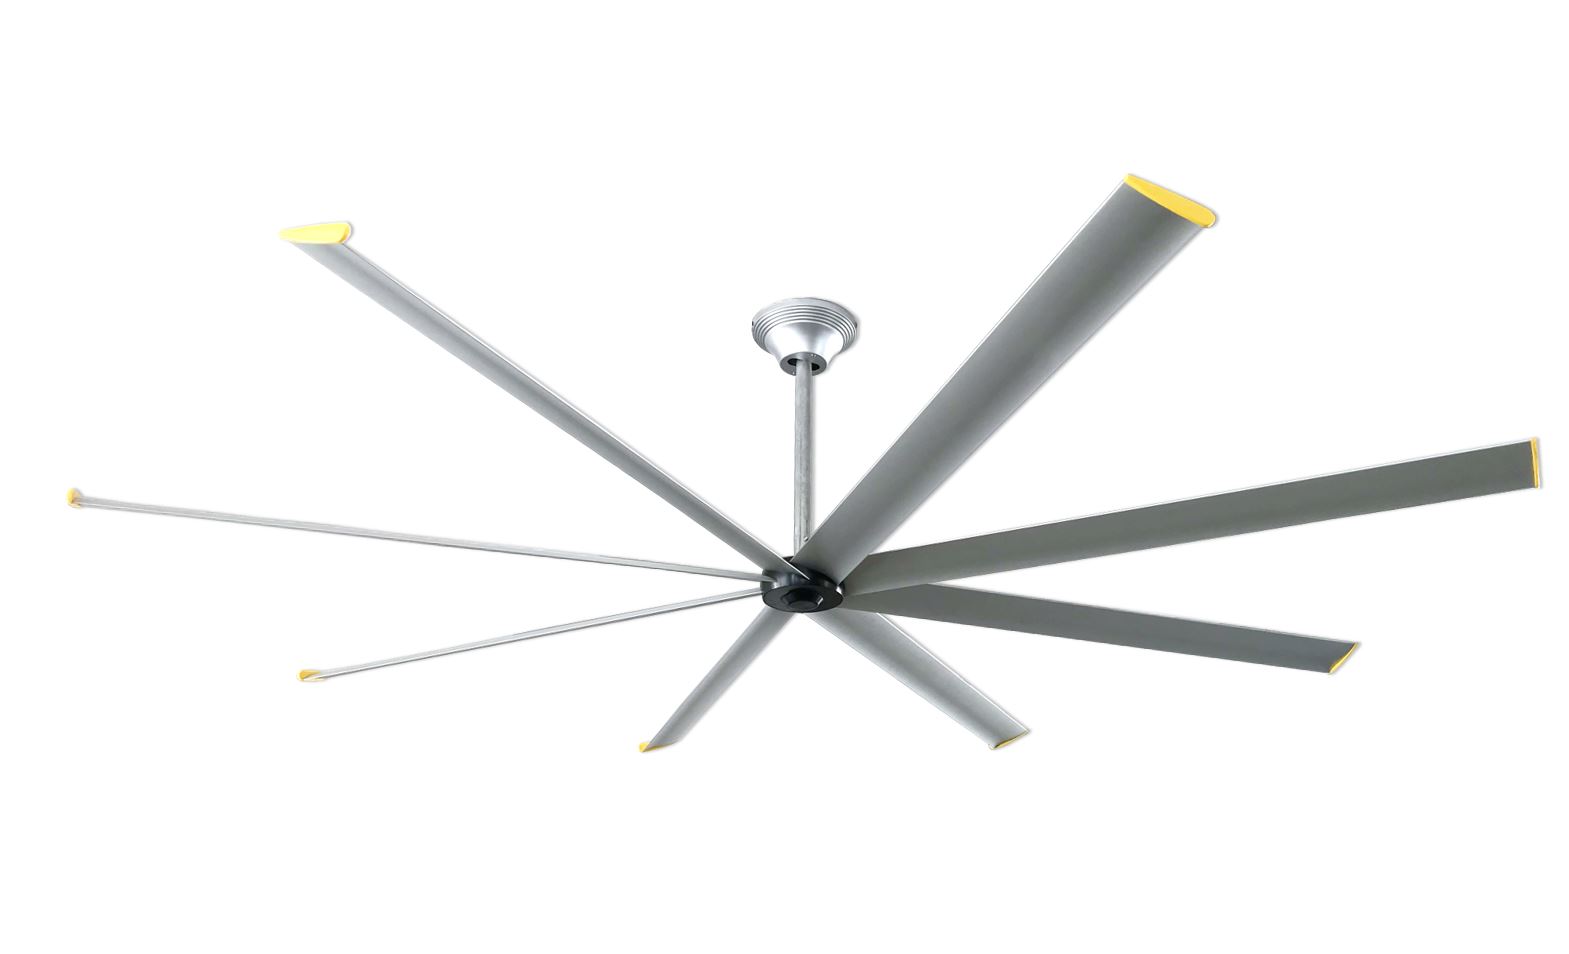
Before beginning the installation, it's crucial to familiarize yourself with the main components of the PMSM ceiling fan as supplied by SIPL. This understanding helps ensure a smooth, safe installation and optimal functioning.
- Motor Unit: The heart of the fan – SIPL's PMSM motor is compact, energy-efficient, and generates minimal heat.
- Fan Blades: Designed for balanced airflow and aesthetic integration.
- Mounting Bracket: Secures the fan to the ceiling structure.
- Downrod: Connects the motor to the bracket, adjusting the fan's height.
- Controller: Remote or wall-mounted, for speed and direction control.
- Safety Cable: Essential for additional security.
Preparation for Installation
1. Gather Required Tools and Materials
Proper preparation is the foundation of a successful installation. SIPL recommends having the following tools and accessories on hand:
| Tools | Materials |
| Screwdrivers (Phillips and flat-head) | Mounting hardware (bolts, screws, washers) |
| Drill and bits | Electrical wire connectors |
| Wire stripper/cutter | Insulation tape |
| Voltage tester | Safety gloves and goggles |
| Step ladder | Fan assembly manual from SIPL |
2. Safety Precautions
- Turn off power at the breaker box before starting any electrical work.
- Confirm the ceiling structure can support the fan's weight and motion.
- Use safety gear to protect against electrical hazards and falls.
- Ensure all components from SIPL are present and free from defects.
Step-by-Step Installation Guide
Step 1: Unboxing and Inspection
Begin by carefully opening the SIPL PMSM ceiling fan package. Inspect all parts, referencing the included checklist. If any component appears damaged or missing, contact SUNNY INTERNATIONAL POWER LIMITED before proceeding.
Step 2: Preparing the Mounting Location
Use a voltage tester to ensure the power is off at the ceiling junction box. Check that the box is rated for ceiling fan installation and securely anchored to the ceiling joist. SIPL recommends professional evaluation for older or non-standard boxes.
- Clear the area of obstructions.
- Measure the ceiling height for proper downrod selection (SIPL fans support various rod lengths).
- Mark the bracket position, ensuring alignment with electrical wiring.
Step 3: Installing the Mounting Bracket
Secure the SIPL mounting bracket to the junction box using supplied bolts and washers. Confirm tightness with a screwdriver, ensuring no wobble. Attach the safety cable to the ceiling structure, leaving enough slack to connect to the motor later.
- Double-check bracket alignment for level positioning.
- Do not overtighten, which could damage the bracket or box.
Step 4: Motor and Downrod Assembly
Connect the downrod to the PMSM motor unit, threading wires through the rod for neatness. Secure with SIPL's provided locking pin and screws. Attach the safety cable from the bracket to the designated point on the motor housing.
- Confirm that all mechanical connections are tight and secure.
- Ensure wires are not pinched or exposed.
Step 5: Electrical Wiring Connections
Follow SIPL's wiring diagram, included with every PMSM ceiling fan. Connect the neutral, live, and earth wires using wire connectors. If the fan includes lighting, connect the additional wires as indicated. Insulate all connections with tape.
| Wire Color | Function |
| Blue | Neutral |
| Brown/Red | Live |
| Green/Yellow | Earth |
| White/Black | Controller/Light (if applicable) |
- Use a voltage tester to confirm no live current before handling wires.
- Follow SIPL's color coding strictly for safety and warranty compliance.
Step 6: Attaching the Fan Blades
Attach each SIPL-designed blade to the motor hub using the provided screws and washers. Tighten evenly, alternating between screws to ensure balanced installation. Check blade alignment and clearance from ceiling and walls.
- Do not force blades into position; SIPL blades are precision-cut for easy, snug fit.
- Confirm no blade contacts other objects at full rotation.
Step 7: Final Assembly and Controller Setup
Install any decorative covers, light kits, or additional features included with your SIPL PMSM fan. Mount the remote receiver (if applicable) or connect to the wall control unit. Install batteries in the remote and test its function.
- Double-check all mechanical and electrical connections.
- Replace any removed insulation or covers.
Step 8: Testing the Installed Fan
Restore power at the breaker and switch on your PMSM ceiling fan using the SIPL remote or wall controller. Observe the fan at all speed settings, checking for smooth operation, minimal vibration, and quiet performance. If the fan wobbles or makes unusual noises, immediately turn off power and re-inspect installation steps.
- Test all speed settings and direction control.
- Verify that the fan stops and starts reliably.
- Check safety cable and bracket for stability.
Tips and Troubleshooting
Common Installation Issues
- Fan Wobble: Ensure bracket and blades are securely installed and balanced.
- No Power: Check breaker, wiring connections, and remote batteries.
- Unusual Noise: Tighten all screws and check blade alignment.
- Controller Malfunction: Replace remote batteries, re-pair receiver, or check wall switch wiring.
If problems persist, consult your SIPL installation manual or contact SUNNY INTERNATIONAL POWER LIMITED customer support for expert advice and service.
Maintenance and Safety Practices
Routine Maintenance
SIPL recommends periodic maintenance to extend the life of your PMSM ceiling fan:
- Clean blades and motor housing every 3 months.
- Check tightness of all screws and bolts.
- Inspect wiring for wear or damage.
- Lubricate moving parts if recommended by SIPL (usually not required for PMSM models).
Safety Reminders
Always turn off power before cleaning or servicing the fan. Never use water directly on electrical components. SIPL fans are designed for low maintenance but regular inspection will ensure safe operation for years to come.
Frequently Asked Questions (FAQs)
Q: Can I install a SIPL PMSM ceiling fan on any ceiling?
A: Most SIPL PMSM fans are designed for flat, stable ceilings. For angled or false ceilings, consult SIPL for compatible mounts or professional installation advice.
Q: How energy efficient are PMSM fans compared to regular fans?
A: PMSM fans from SUNNY INTERNATIONAL POWER LIMITED consume up to 70% less power, making them ideal for sustainable homes and environments.
Q: Can the fan speed and direction be controlled remotely?
A: Yes, SIPL includes either a remote or wall control unit with most PMSM ceiling fans, allowing easy adjustment of speed, direction, and additional features like lighting.
Q: What should I do if my SIPL fan isn't working after installation?
A: Double-check wiring connections, power supply, and controller batteries. If the issue persists, contact SIPL customer support for troubleshooting assistance.

Contacting SUNNY INTERNATIONAL POWER LIMITED (SIPL) Support
SIPL is committed to helping every customer enjoy the benefits of PMSM ceiling fans. If you encounter any issues during installation, or need advice about product features and compatibility, reach out to our expert support team for prompt, friendly assistance.
Additional Resources
For more detailed technical guides, video tutorials, and installation tips, visit the SIPL website or follow SUNNY INTERNATIONAL POWER LIMITED on social media. Stay updated with the latest advancements in PMSM fan technology and home comfort solutions.
Empower your living space with the efficient, quiet, and stylish PMSM ceiling fans from SIPL, and enjoy a new standard of modern comfort within your home.
PMSM Ceiling Fan Installation Checklist
- Power off and safety checks complete
- All SIPL components present and inspected
- Mounting bracket securely installed
- Downrod and motor assembled
- Wiring connections completed and insulated
- Blades attached and aligned
- Controller setup and tested
- Fan operation tested at all speeds
- Routine maintenance schedule established
With careful planning, attention to safety, and SIPL's quality engineering, installing a PMSM ceiling fan can be an accessible and rewarding project for beginners.
Tags:solar ceiling exhaust fan,solar dome tent fan,Solar HVLS Ceiling Fan price

-
How Can Solar Powered Vent Fans Improve Your Home Cooling
넶55 2026-07-17 -
-

-

-
-